Stowaway Painting Stand
This is my stowaway painting stand for Reaper/Vallejo/Army Painter-size dropper bottles.
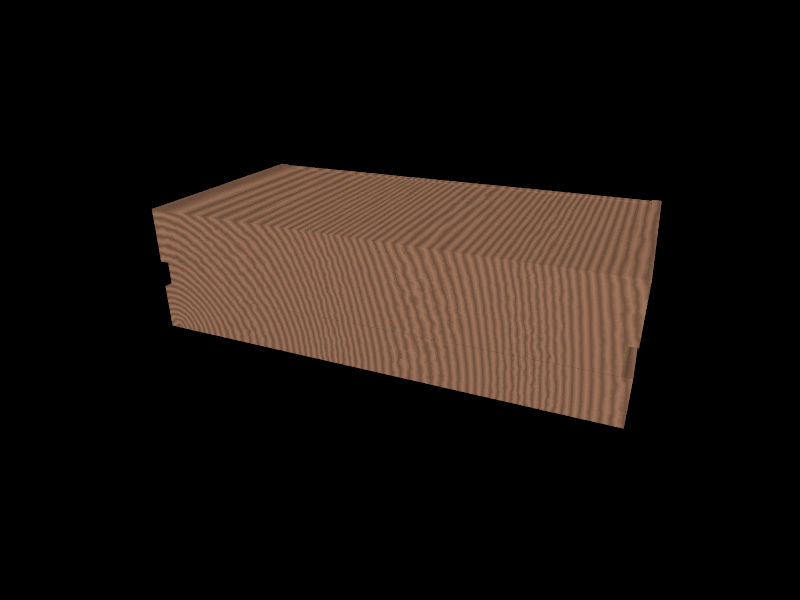
Here's the animated concept 3D render I did before building.
Here's a PDF of the build plans, with the wood inventory and cut guide.
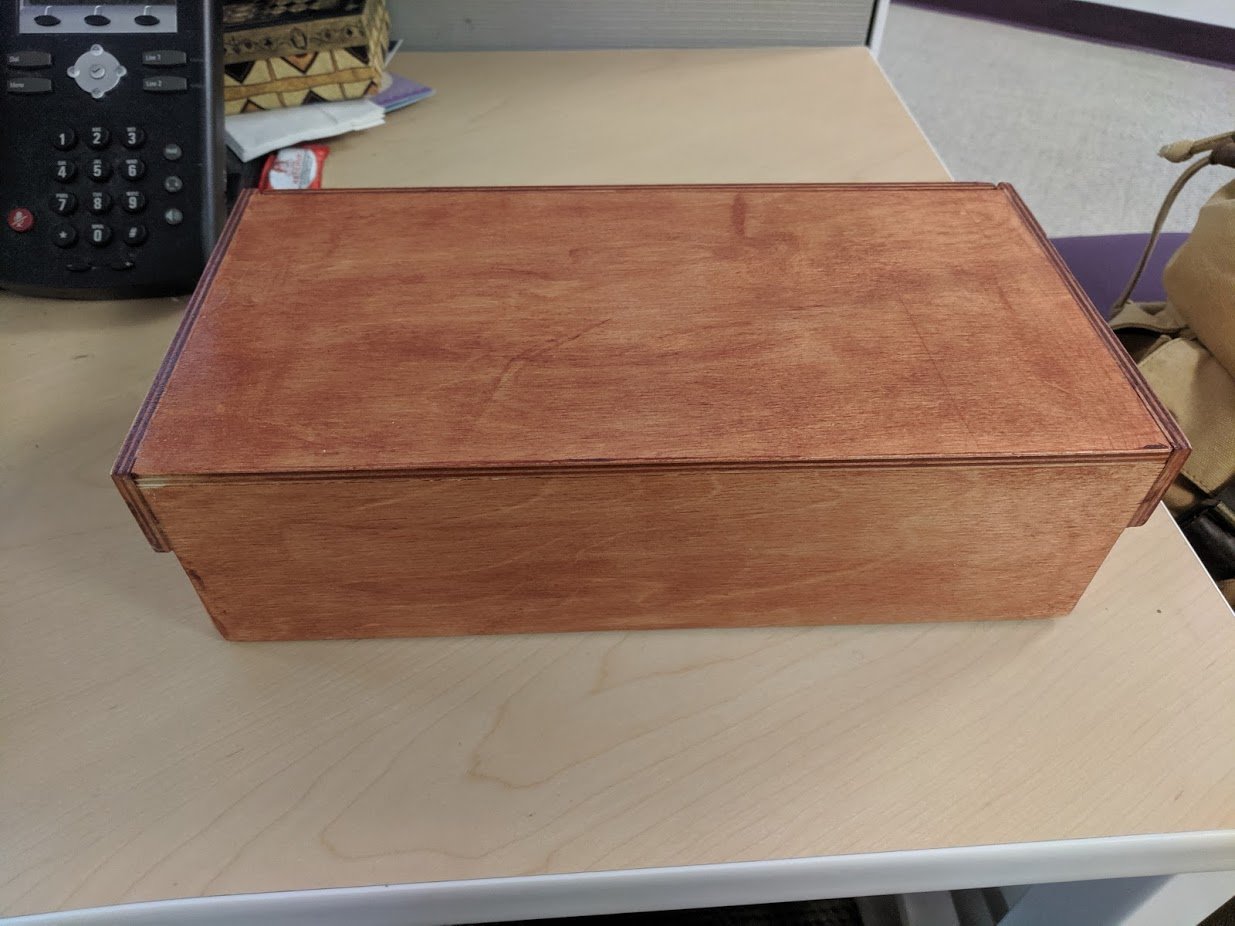
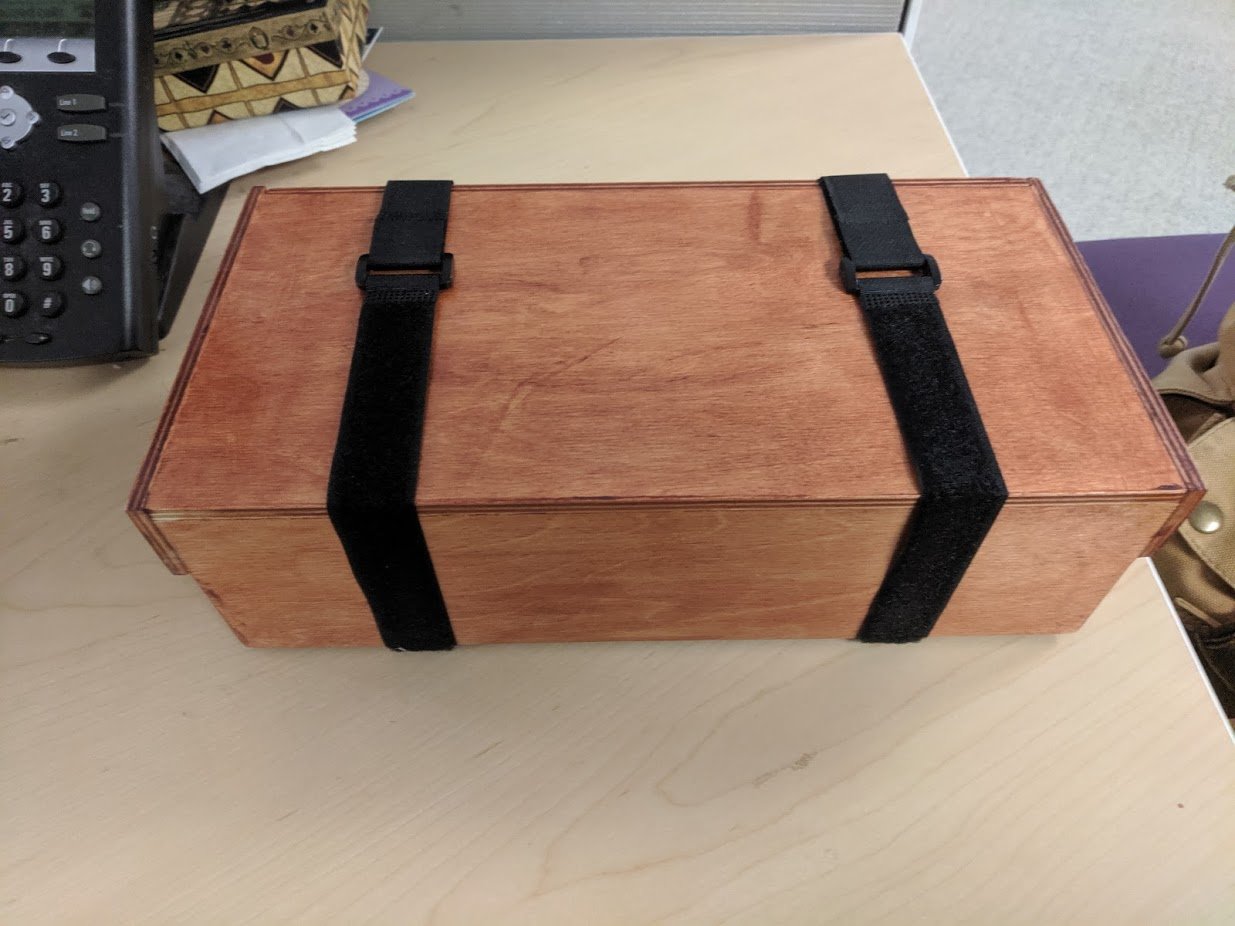
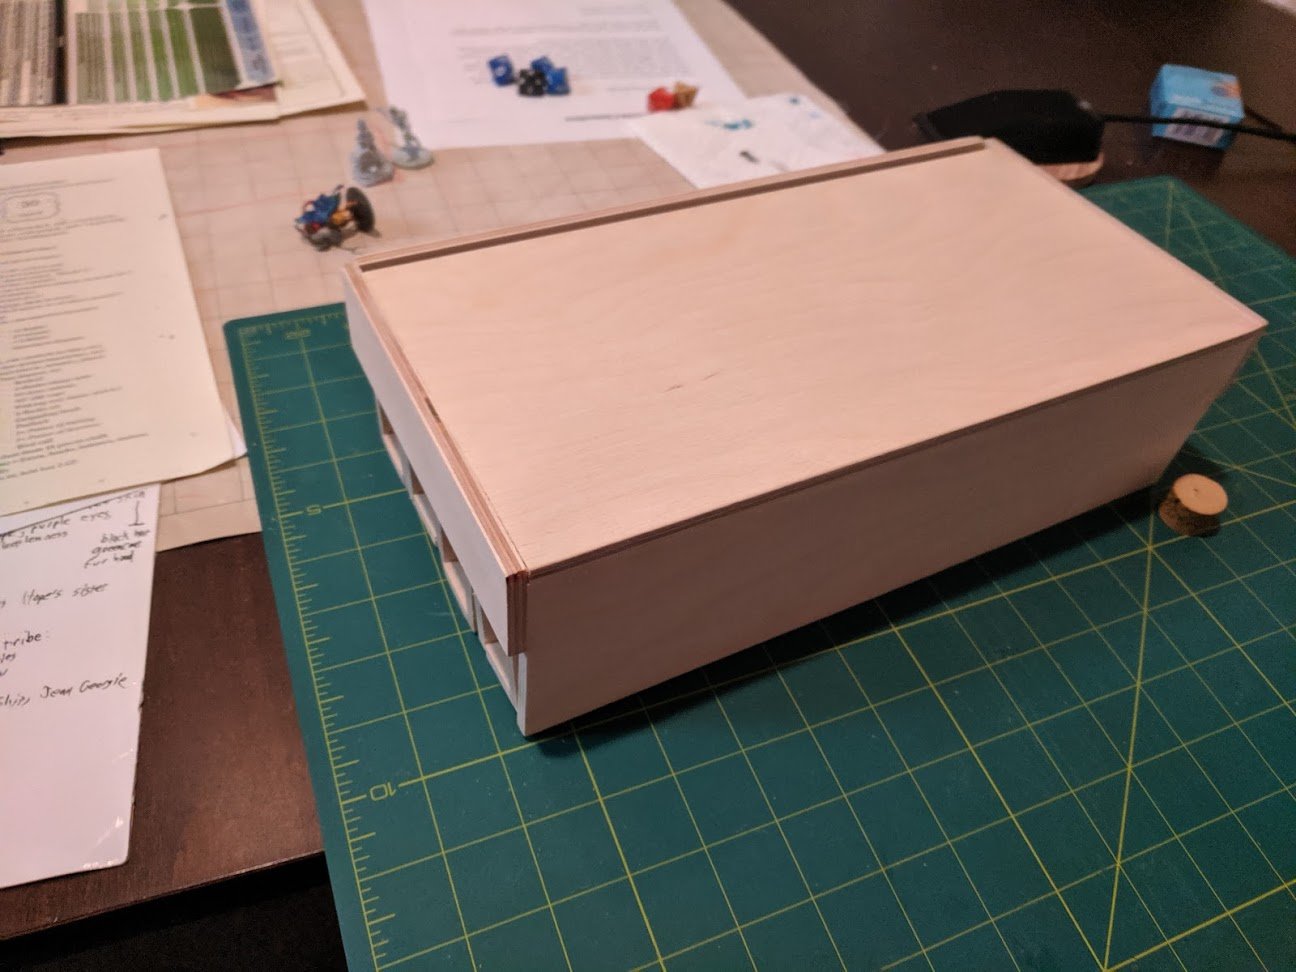
It folds flat into a box for storage:
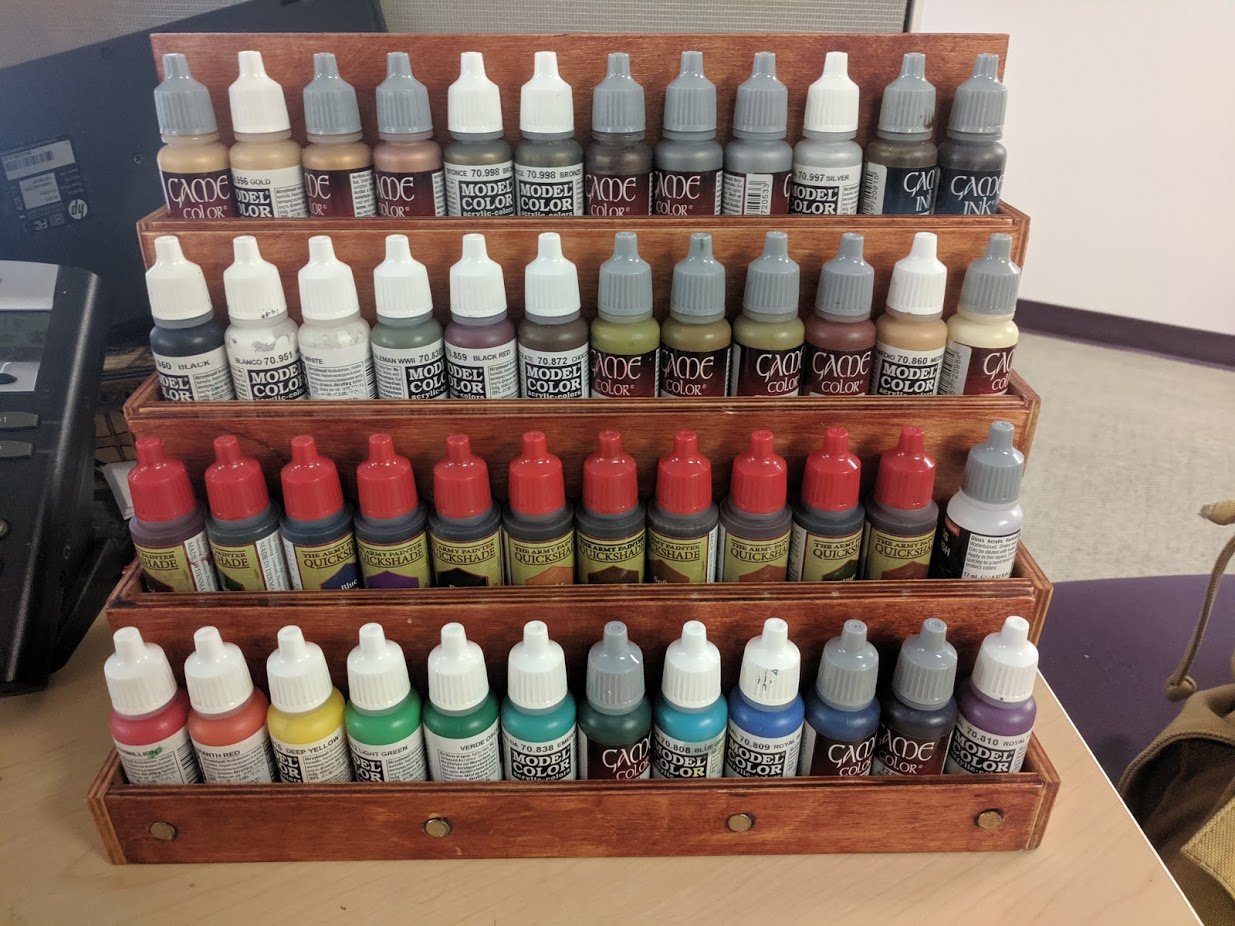
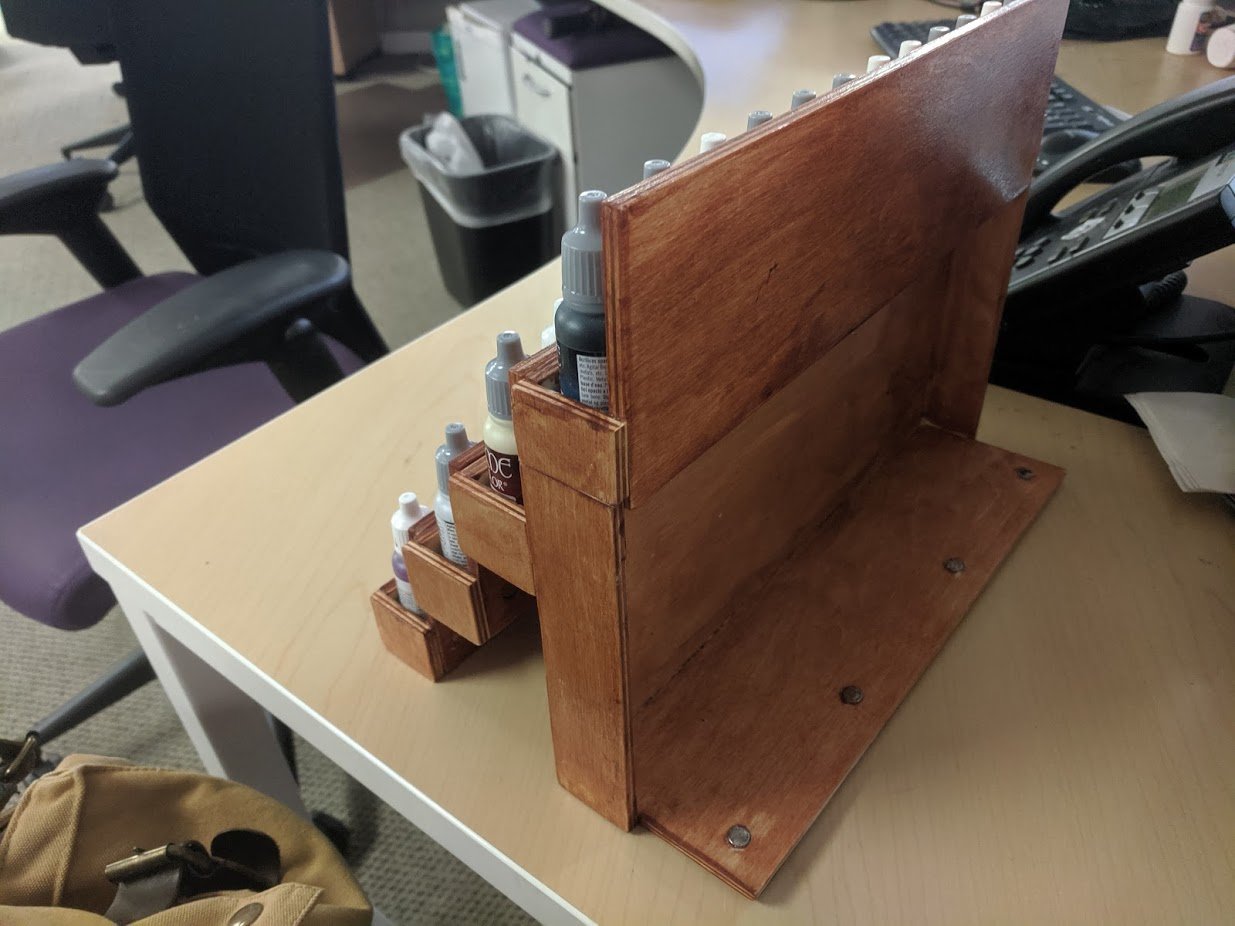
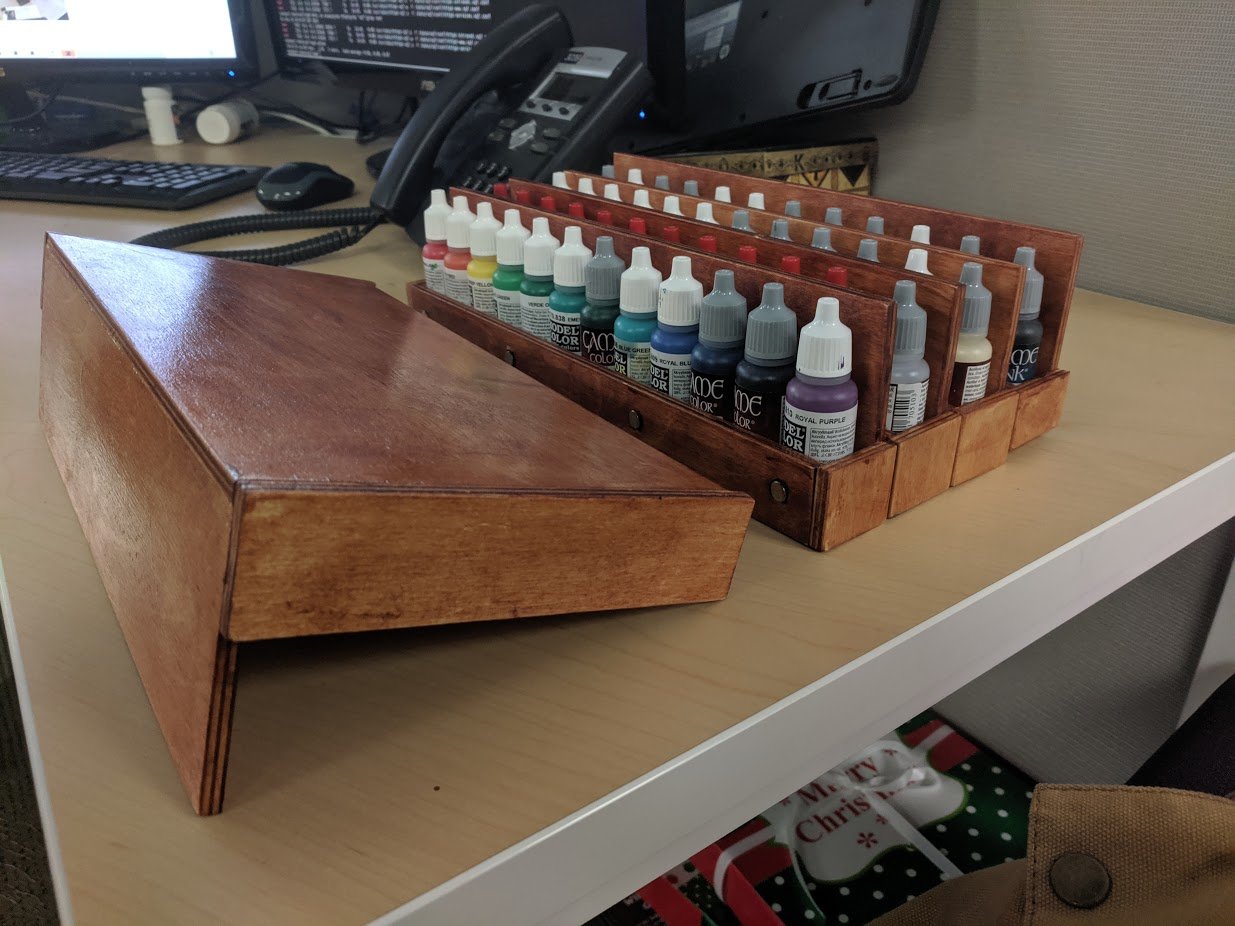
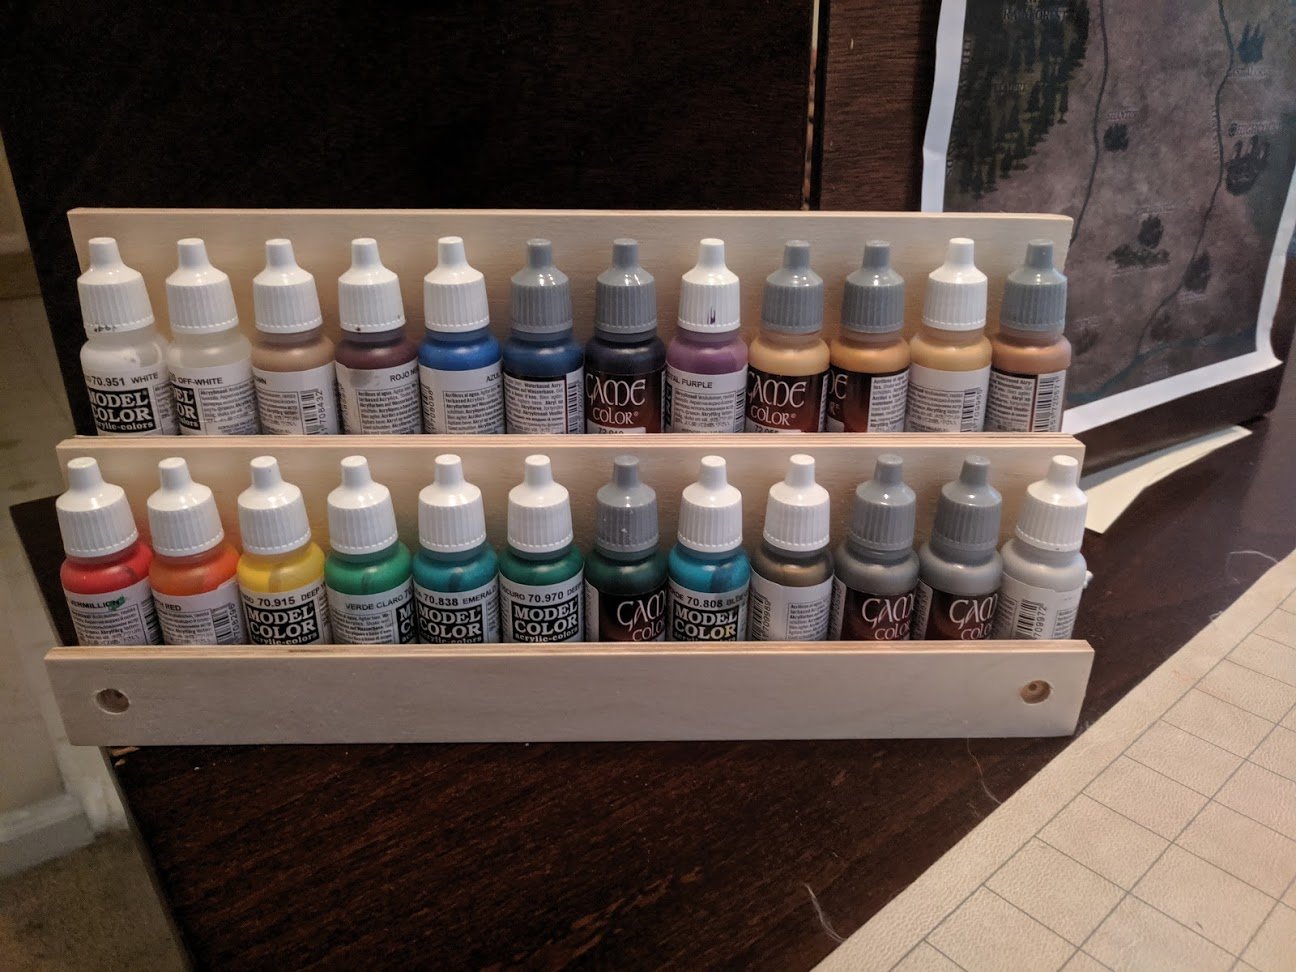
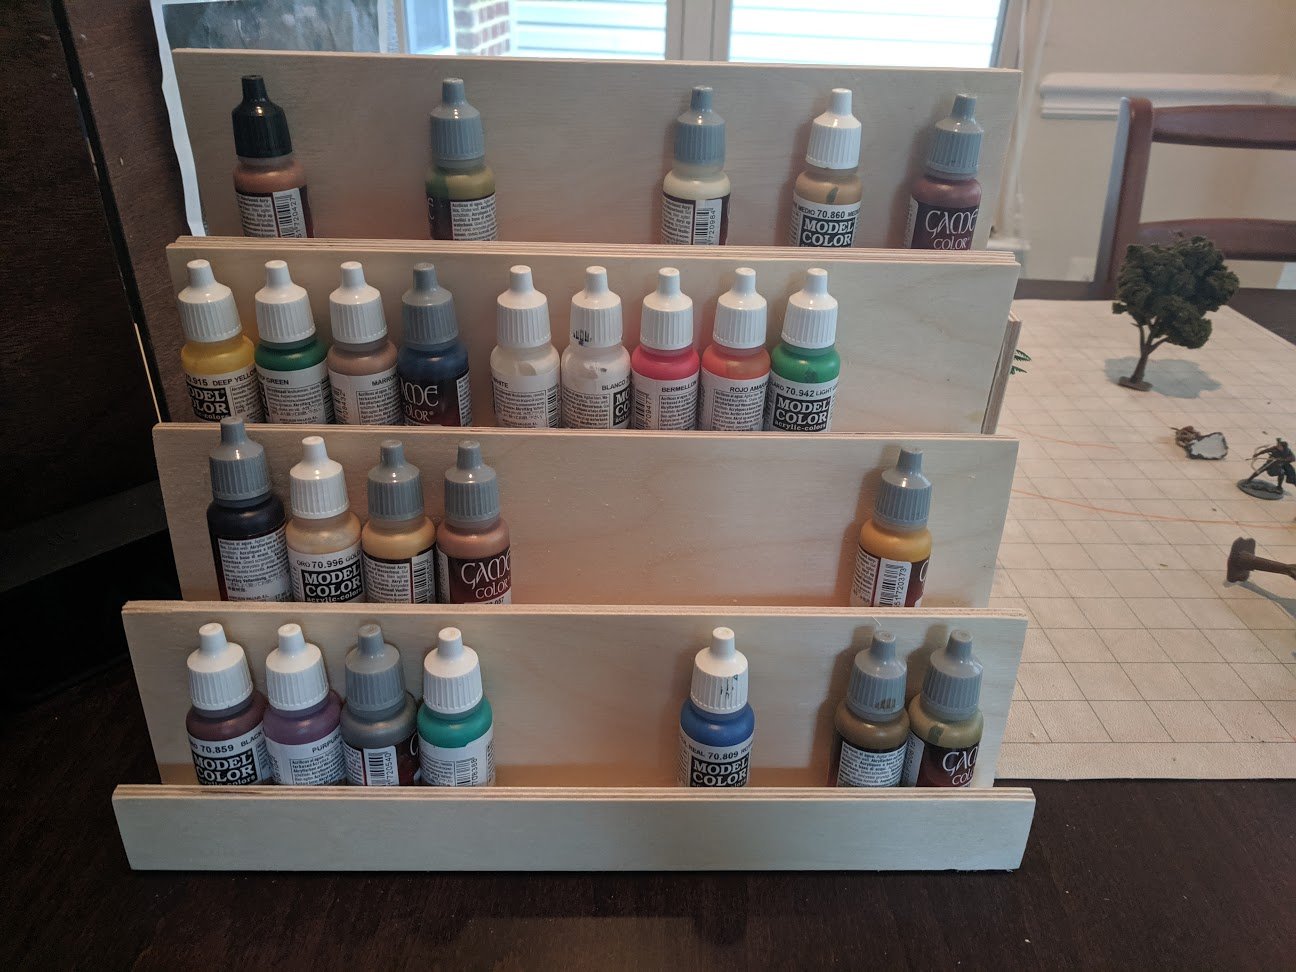
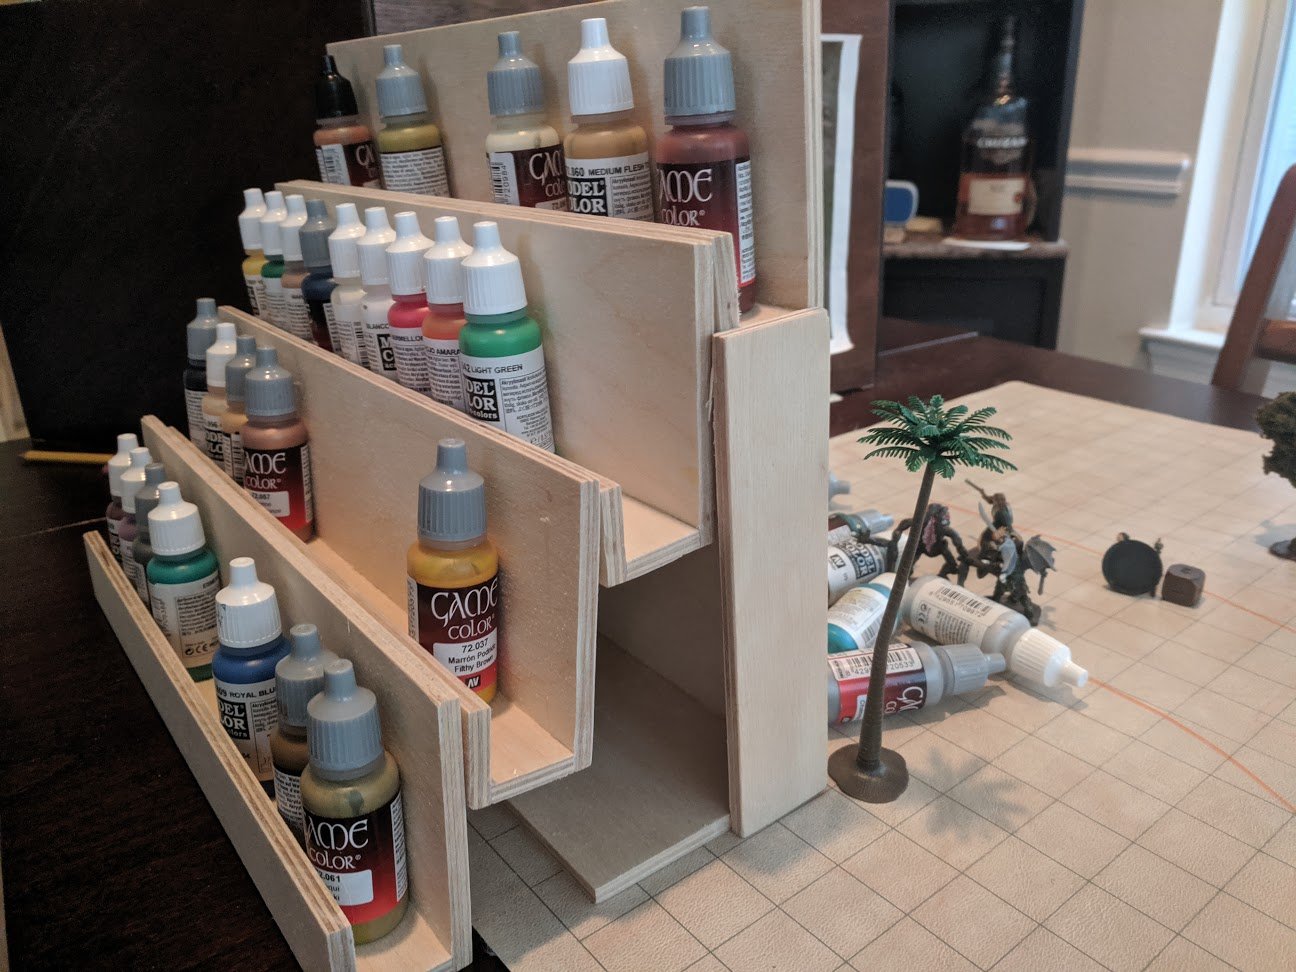
And opens up into a display stand for when you're painting:
The lid from the closed/box form acts as the stand when it's in open/display form:
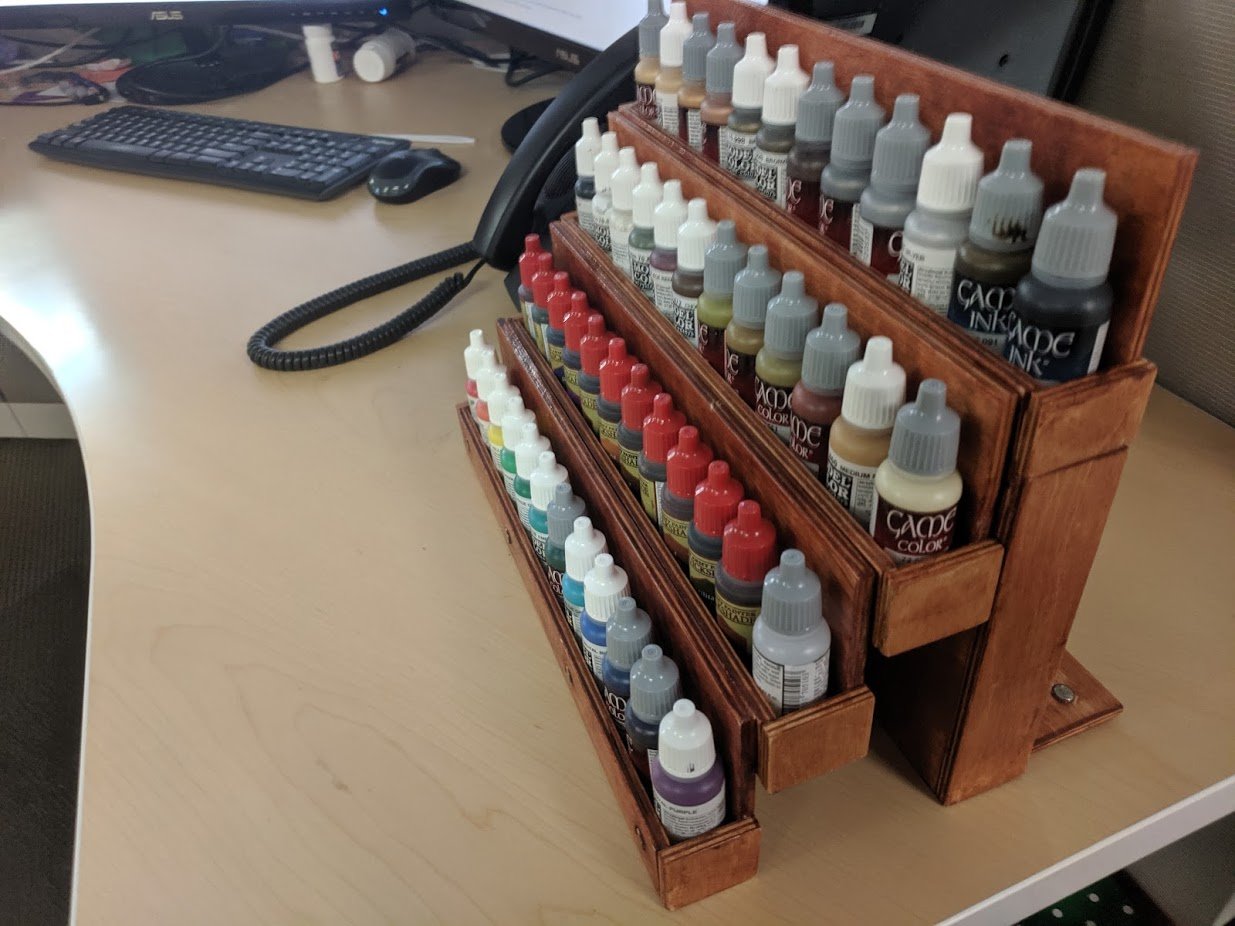
A couple of velcro tie-downs hold it together for travel:
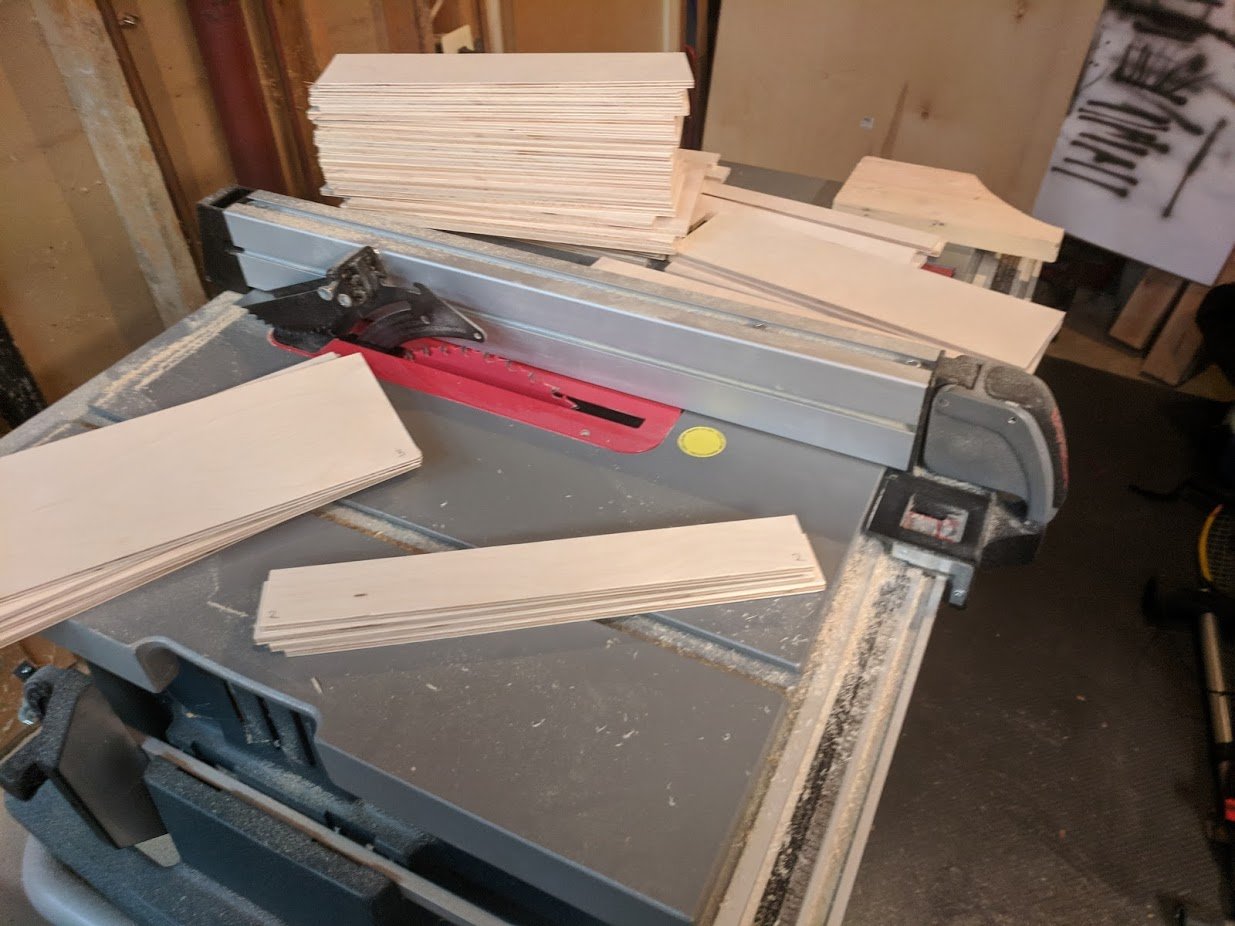
Build process:
1. Cut the wood to size
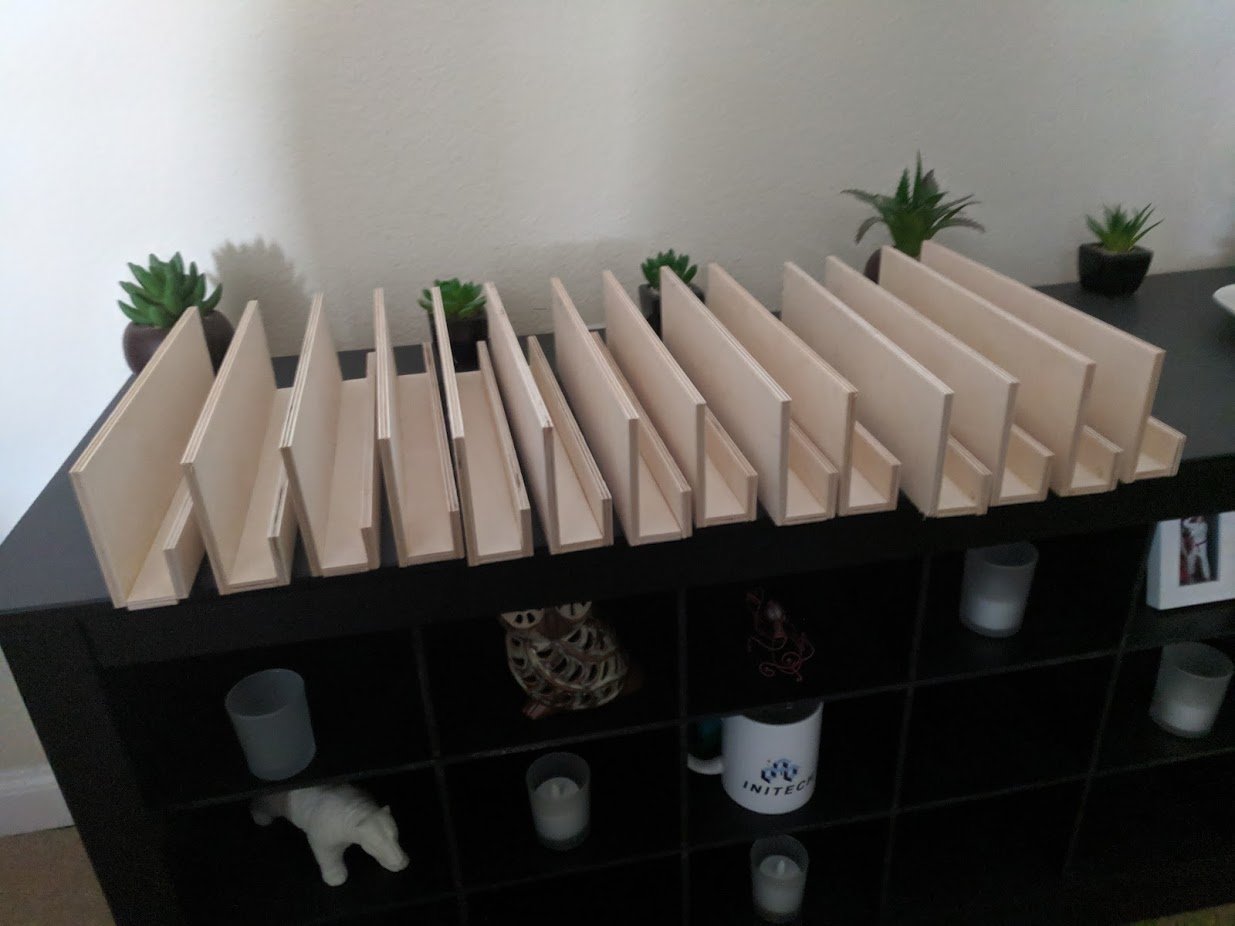
2. Glue the J-shelves to shape
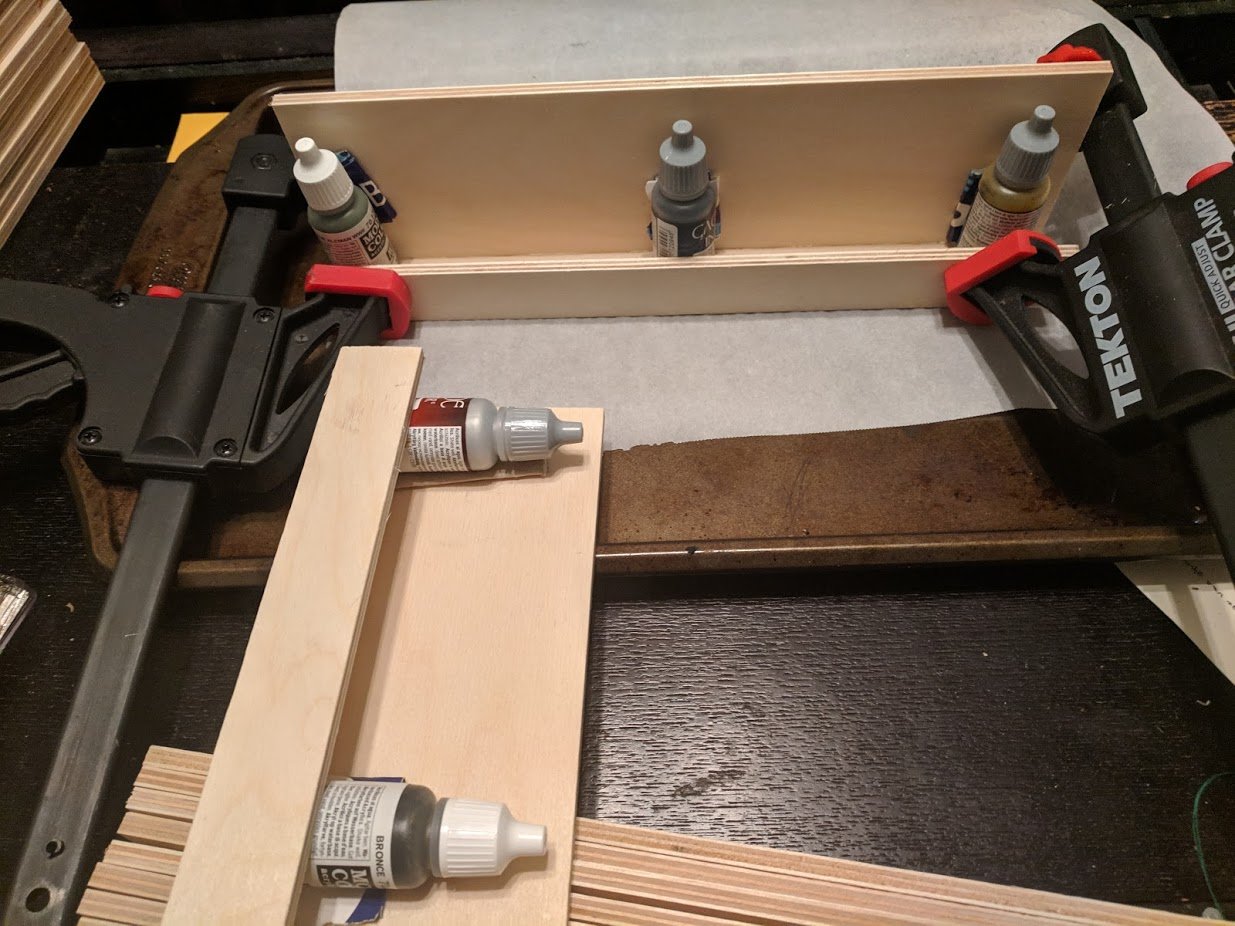
When you make 4 cases at once, that's a lot of J-shelves (2 not pictured, still drying):
3. Shape the lids and test fit:
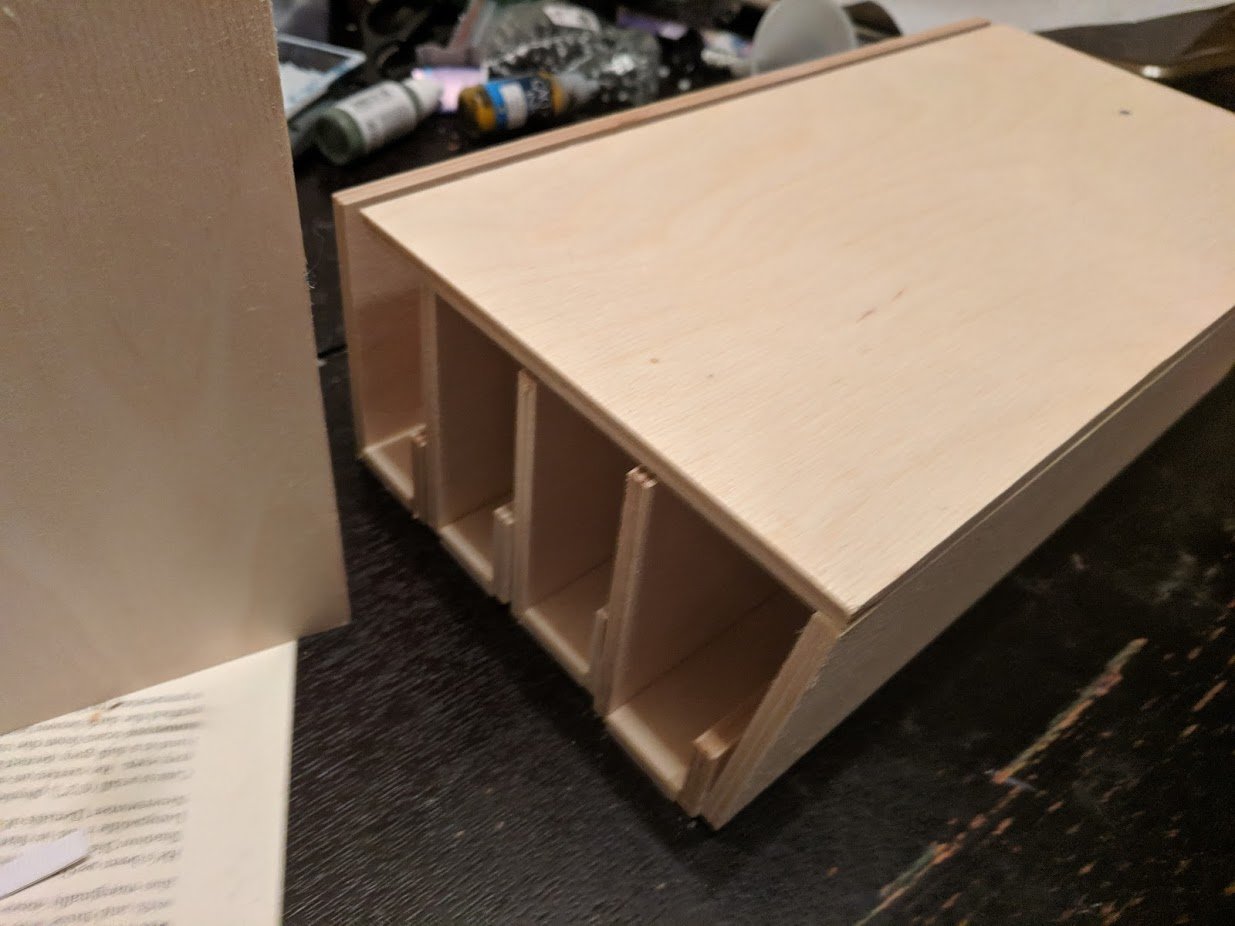
Affix the sides to the top and sand everything to a smooth finish:

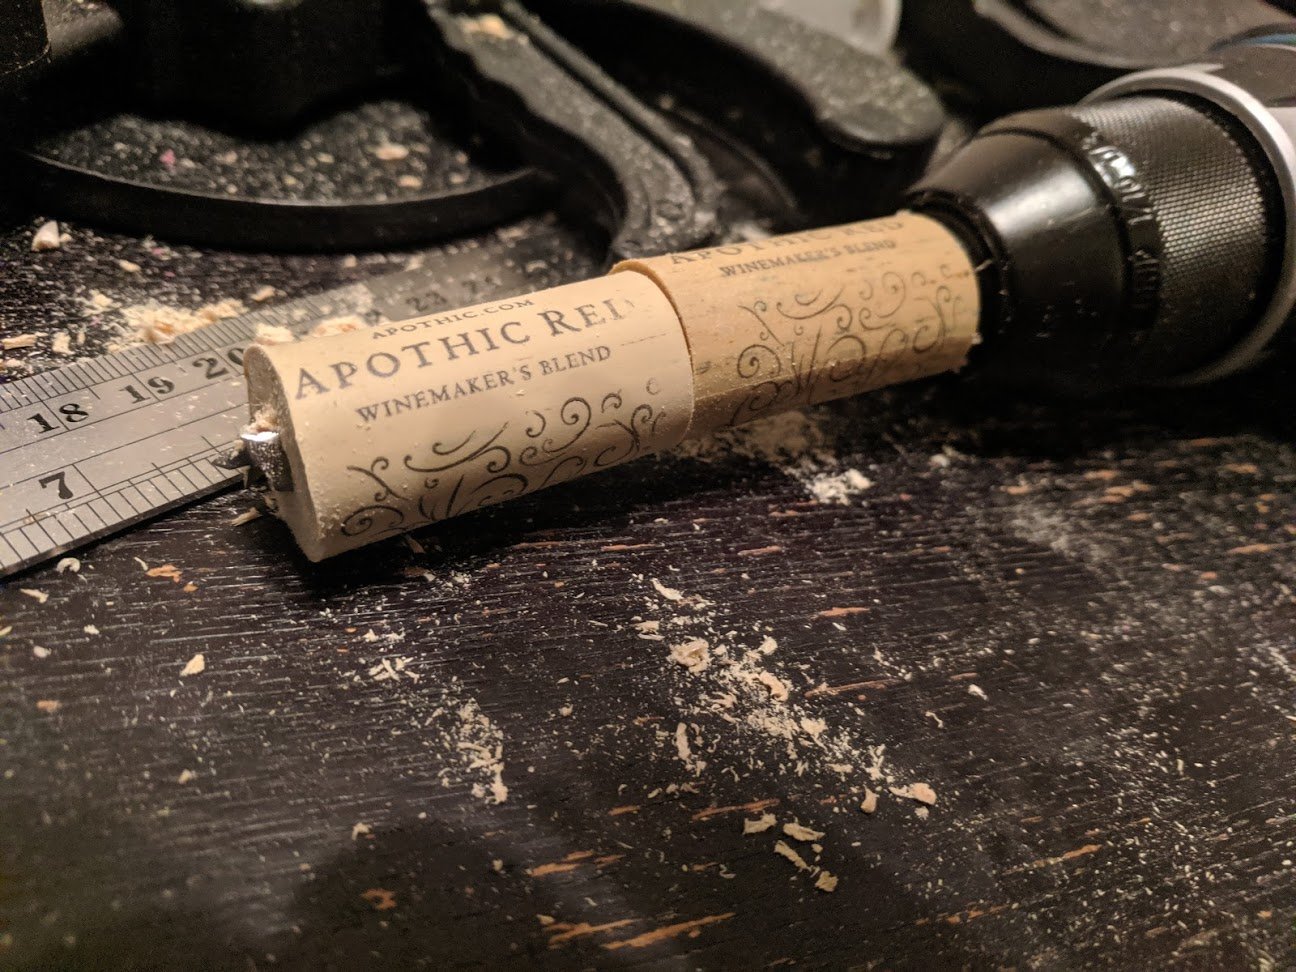
Rig up a depth guide for your drill, with an 11/32" brad-point drill bit (a brad-point is ideal for drilling the insets we need with fairly flat bottoms, and easily centered on a small point).
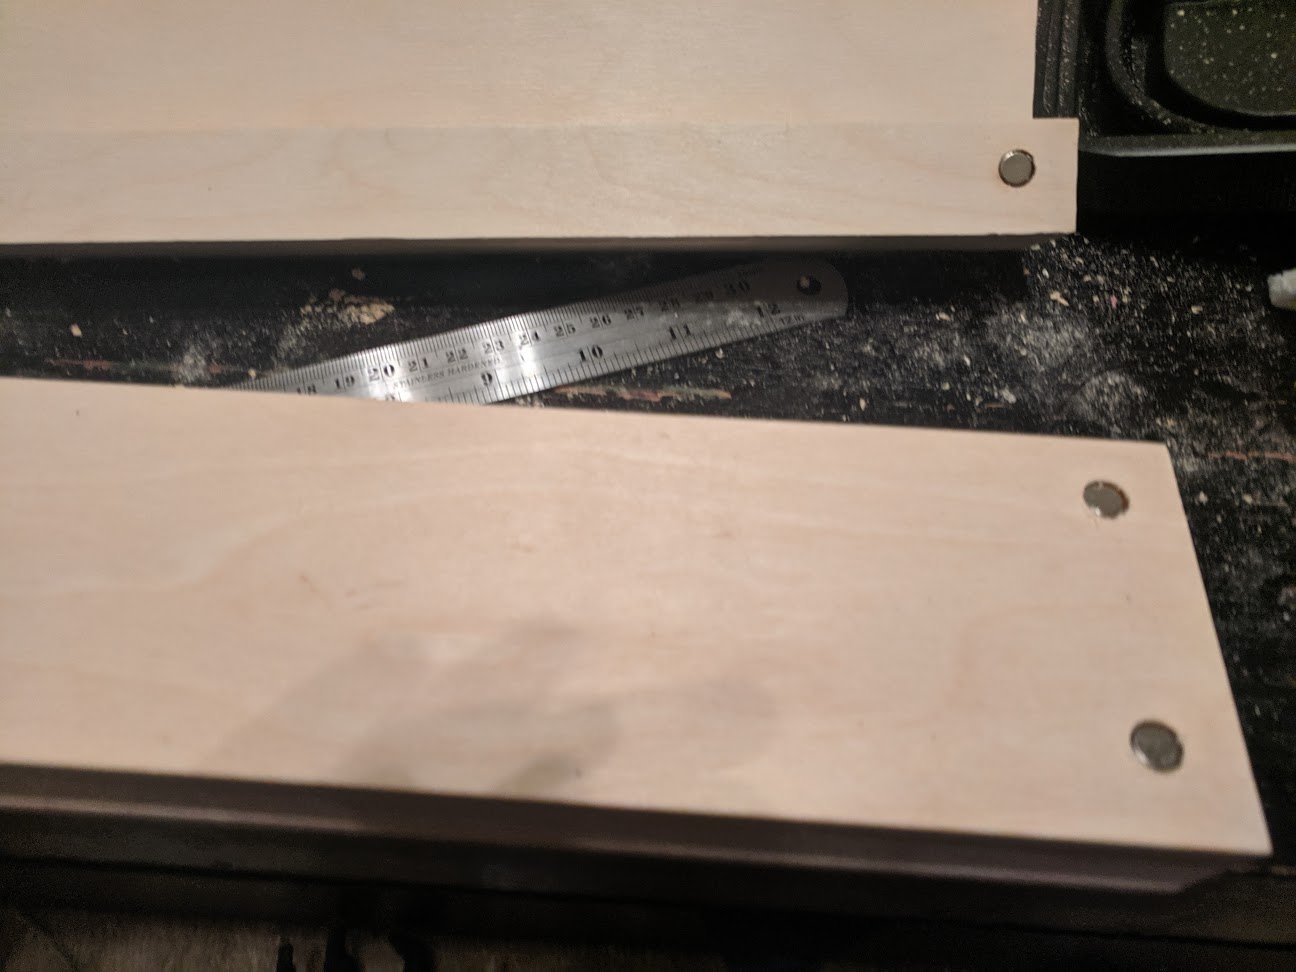
Measure the holes: The bottom holes (and only holes on the front) should be centered 5/8" above the bottom of the J-shelf. The top holes should be centered 2 5/8" above the bottom. All holes should be measured from the left side (facing the front) of the shelf; the left holes are 5/8" from the side.
The right ones on my shelf width are 11 1/4" but may vary for you: measure one shelf to 5/8" from the right side, then take the measurement from the left side to find the distance and use that distance (and left side) to measure the rest of them.. That way they'll all line up, even if your shelves have slightly different widths.
Once you've drilled the holes to depth, use some E6000 to glue in the magnets:
Magnet test: it holds, barely, but I decided to go to 4 magnets instead of 2 to make sure it's stable (4 1/8" and 8" from left edge):
Testing the full construction under load:
Then it's just attaching the end caps, staining, and applying a clear coat, and you're done.