DM Screen
I wanted to make a DM screen that looks nice, has interchangeable art/reference material, and folds flat. I liked a lot of the ideas from Webb Pickersgill’s build (which is great, you should check out his site), especially the magnets. But I prefer a 3-panel screen and I don’t like the reverse hinge. I also wanted slightly larger panels. I wanted the option of adding a dice shelf, pen shelf, etc at a future date, so I designed a little extra room for those to fold in if I add them.
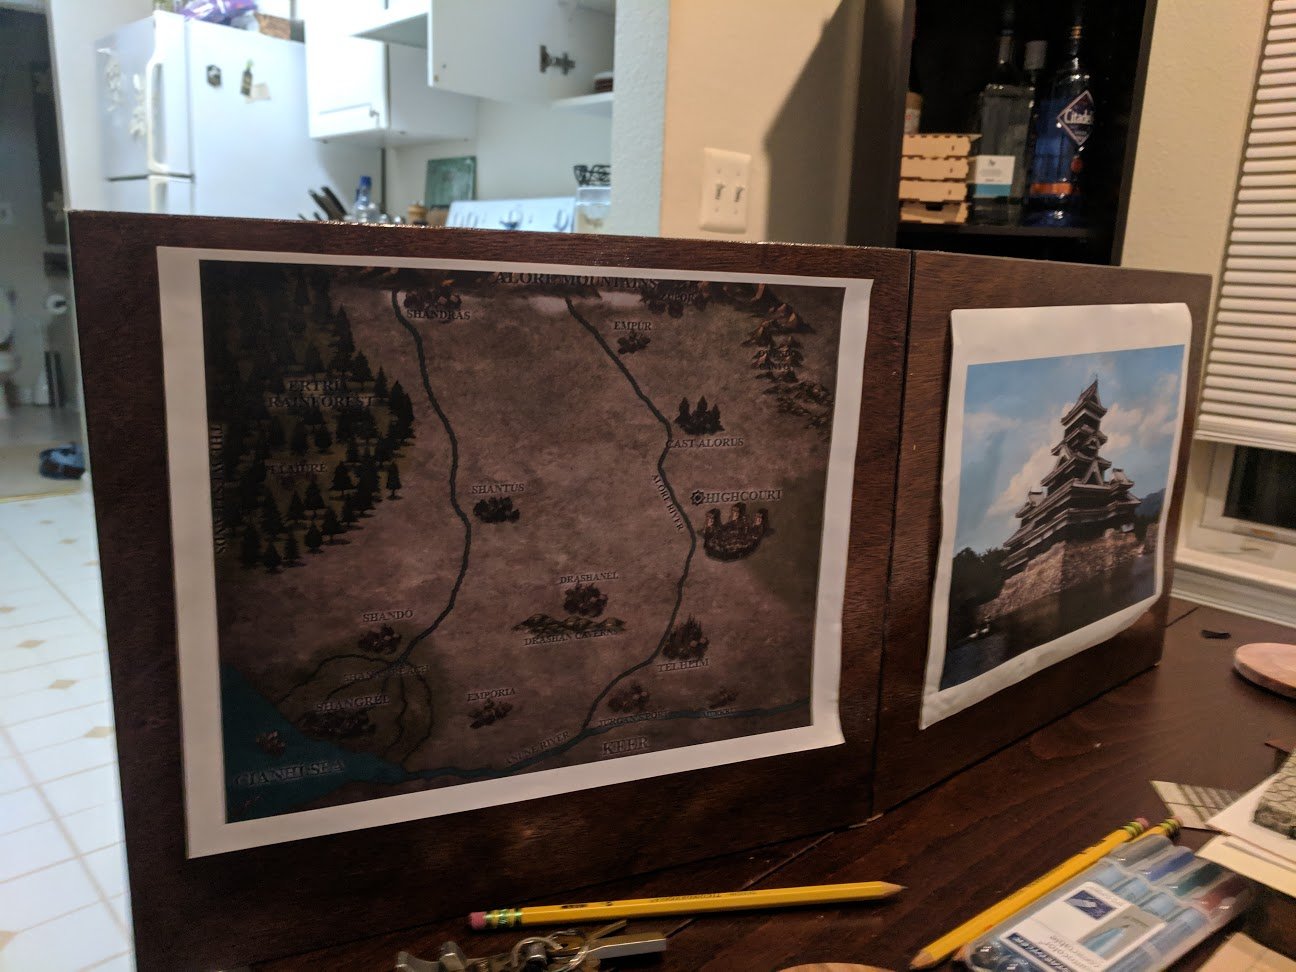
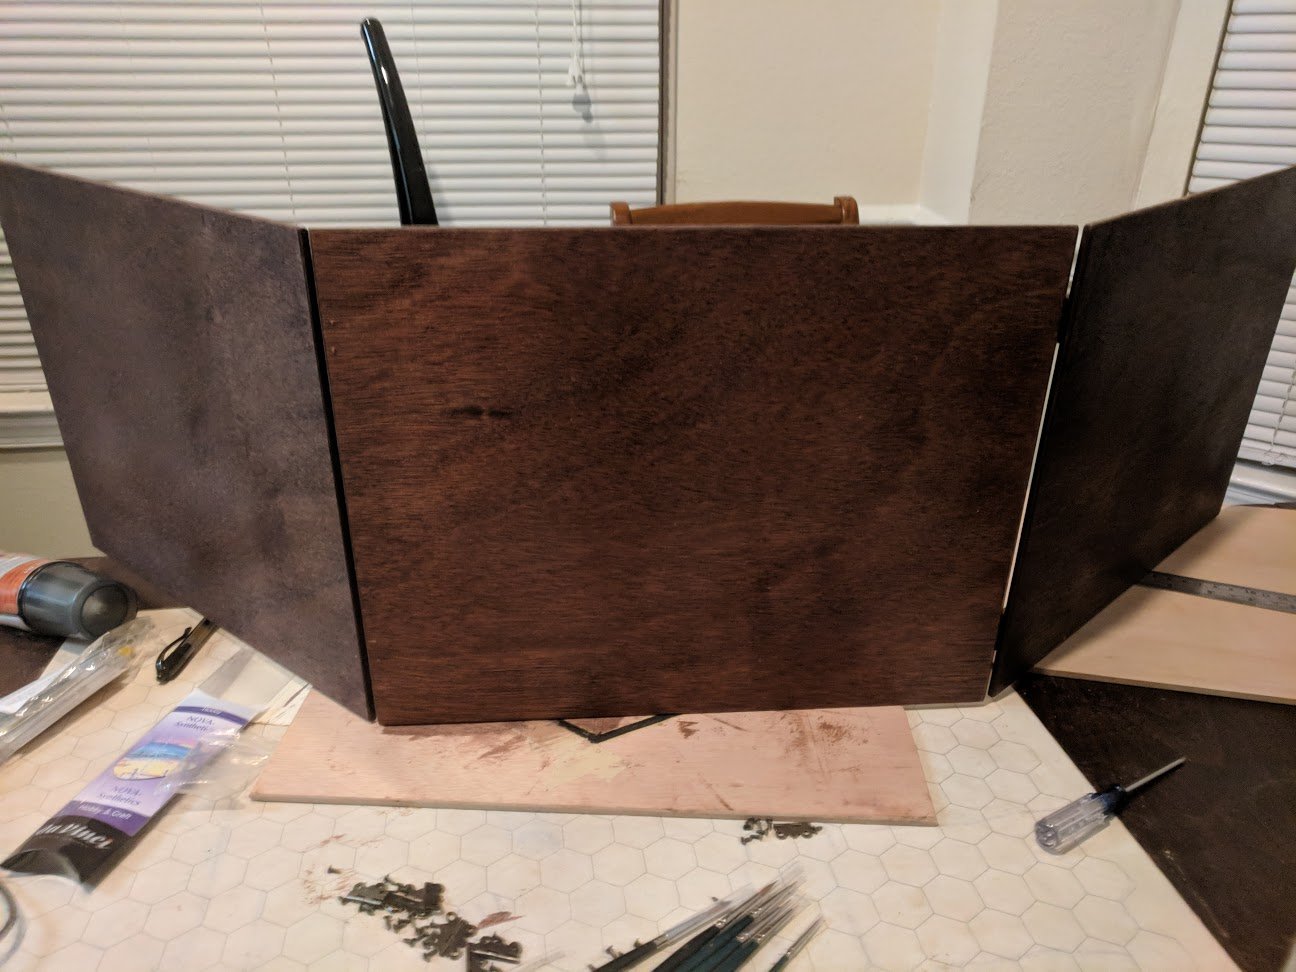
Finished action shot, with art hanging on it:
Step one was to pick up a 5-pack of 10"×14" panels at Michael’s for $12. I also snagged some hinges ($7) and 2mm neodymium disc magnets ($13 for 15 of them, so I have others left for another project) from Amazon.
Up next, I assembled the tools and other items I’d need:
- 300 and 100 grit sandpaper
- A rotary tool (I have a Wen, a Dremel or similar is fine) with whatever bit I already had
- A drill and small bit (to pilot the hinge screws)
- A hacksaw or other saw
- A small Phillips head screwdriver (for the hinge screws)
- A ruler and pencil to measure things out appropriately
- A paint brush (sponge brush)
- An old rag to wipe of excess stain
- E6000 glue (something to adhere the magnets to the wood)
- Wood glue
- Stain
The first thing I did was cut a 3/4" strip from one of the panels. This is designated as the right-hand panel. It will fold directly onto the center panel. The left-hand panel will fold closed on top of it, which means the left-hand hinges must be raised up support posts. And the right-hand panel has to be shortened just enough to lie inside those support posts. The pictures below should make this more clear.
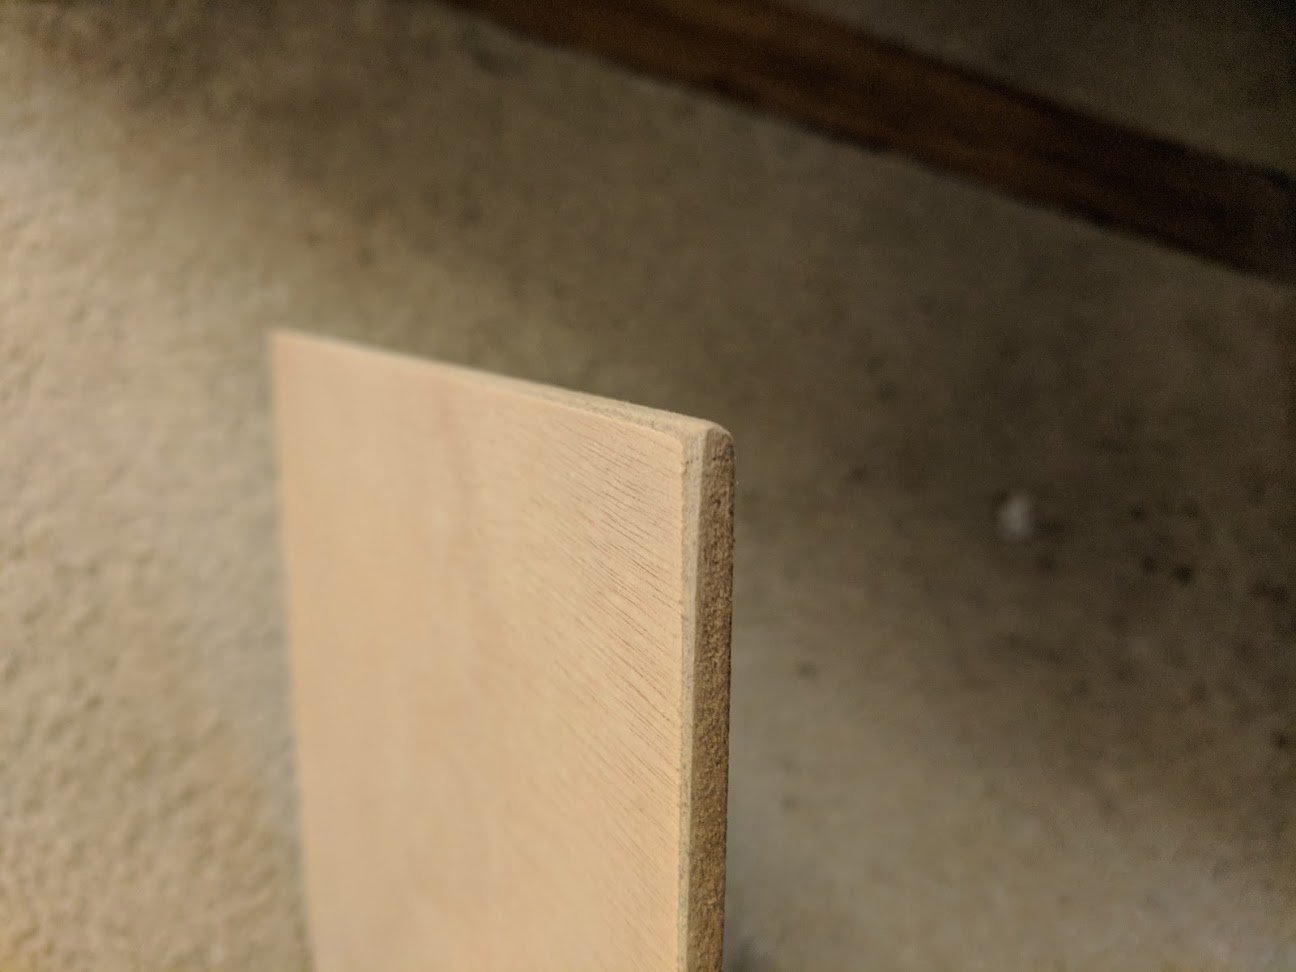
Then I took some sandpaper and beveled the edges of the panels:
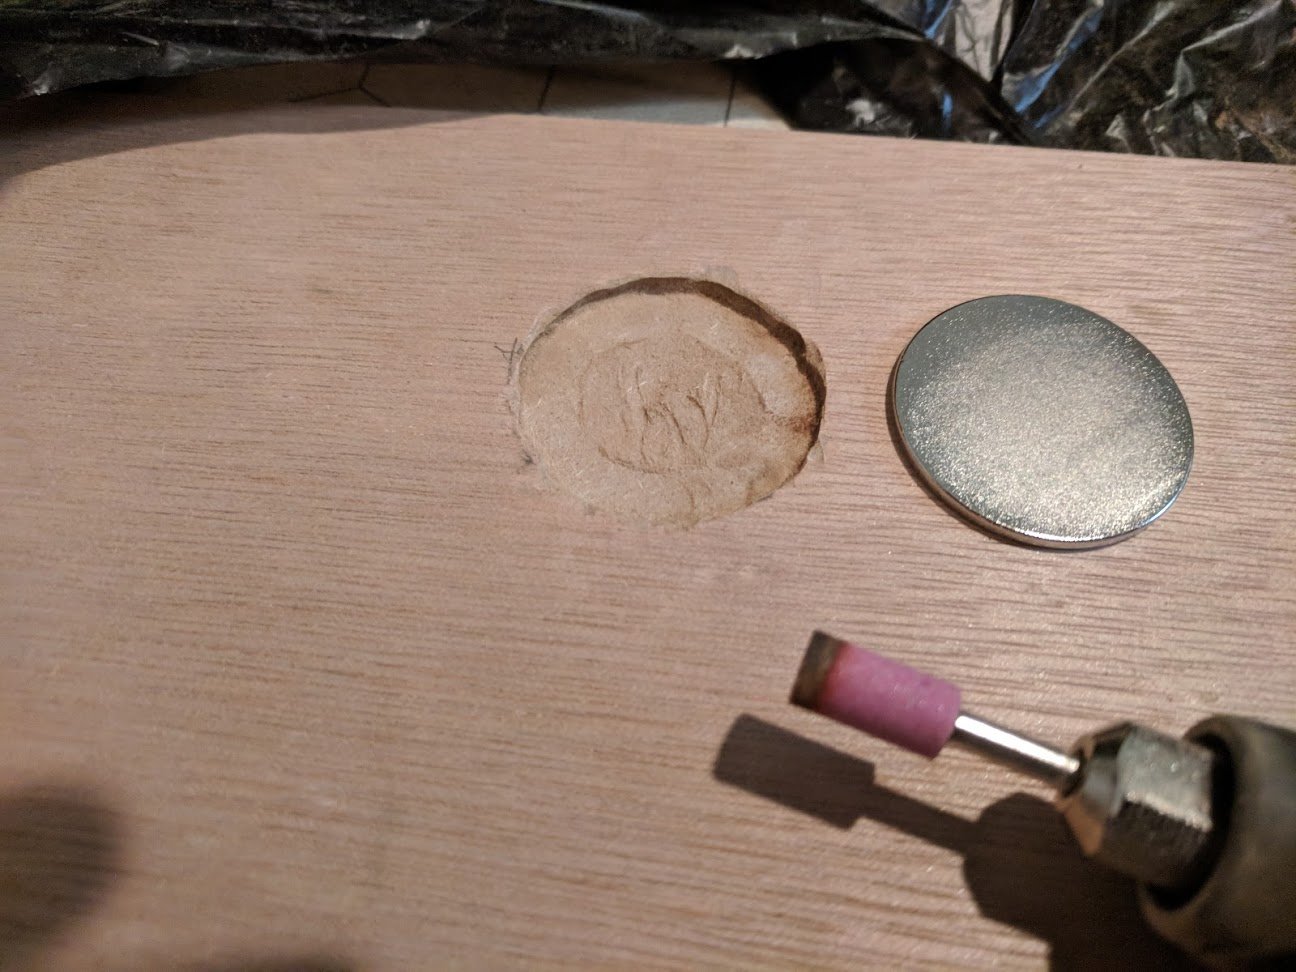
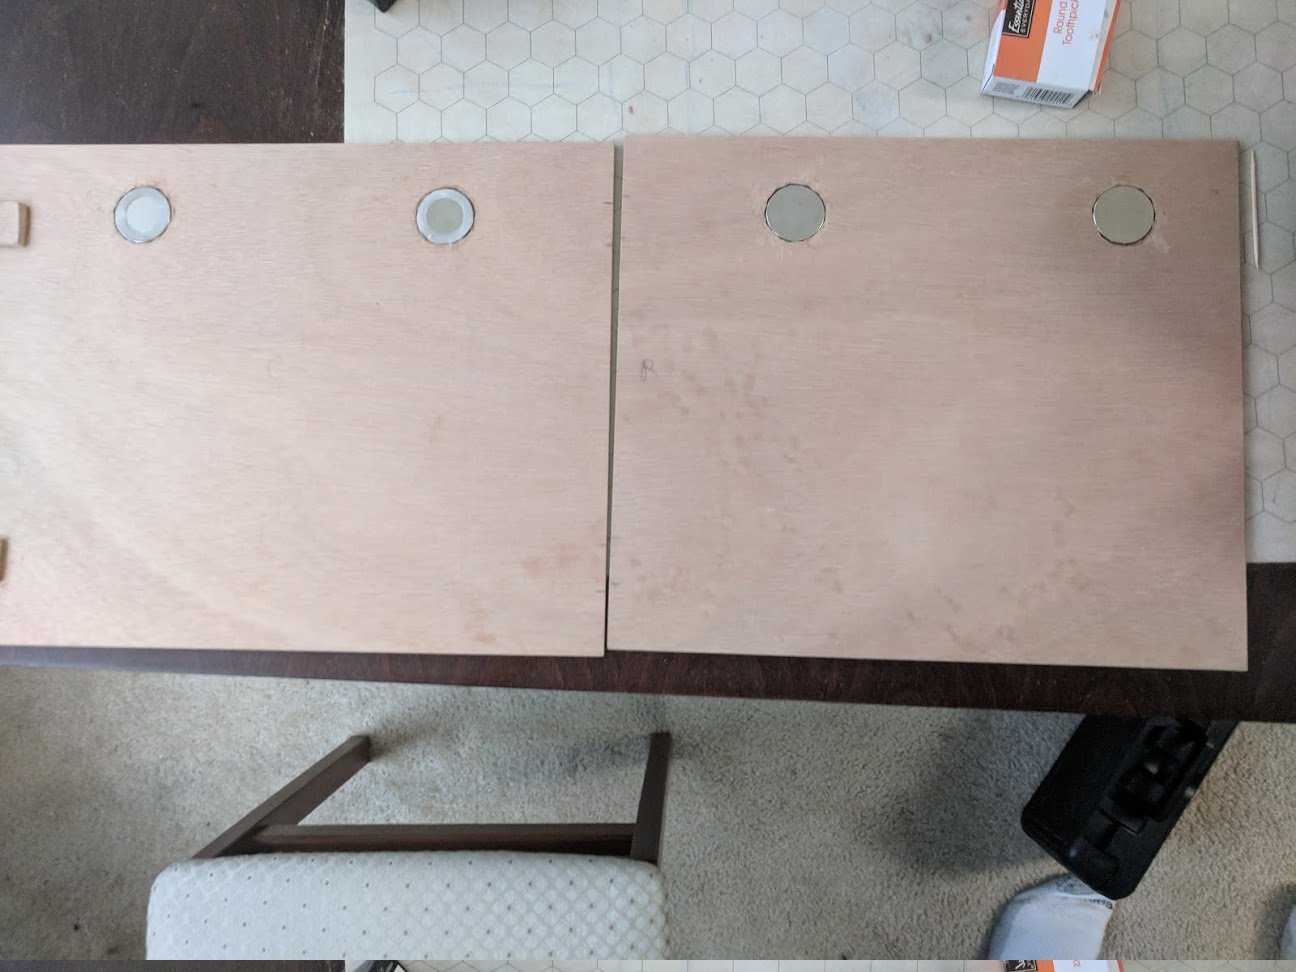
Up next, I used my rotary tool to cut in inserts for the magnets. These must be measured so that they will be directly on top of each other when folded closed—that's easy on the two full-size boards, but you need to remember to measure things from the hinge side of the right hand board since it’s been shortened:
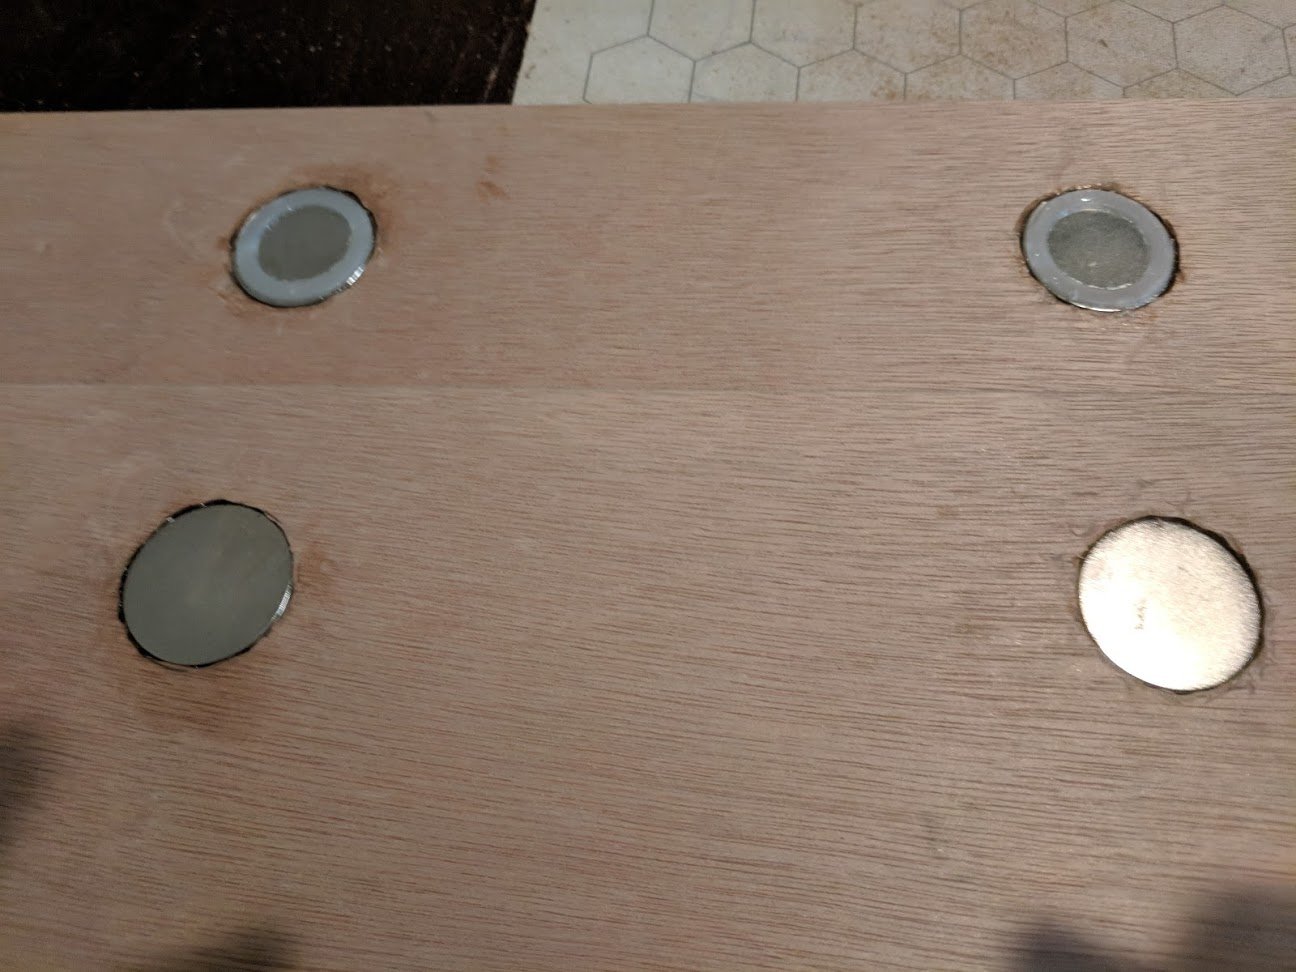
Then I used some E6000 to glue in the magnets: make sure they’re all oriented correctly, with the right-hand magnets attracted to the center panel when closed and the left-hand magnets attracted to the right-hand magnets.
Since the right panel and the center panel are going to close back-to-back on each other, I also glued plastic spacer rings (which came with the magnets) onto the center panel’s magnets; this will help prevent them from chipping and from sticking too tightly and potentially pulling loose:
As I mentioned, I’d cut a thin strip (about ¾" wide) off of the right panel, so it’s a little narrower than the center/left panels. This is because we need to have posts elevating the left panel hinges slightly so that when it swings closed it clears the right panel.
Right:
Next up I used the strip I’d cut off to make hinge supports, which are wood-glued to the center and left panels. Because they’re cut from the same strip, they’re automatically the correct width for the right panel to clear them when it swings closed (no measuring required). I also put extra similar supports on the outer corner of the left panel, seen top left here. It’s going to rest 1 board width away from the right panel, and these will allow it to rest flat:
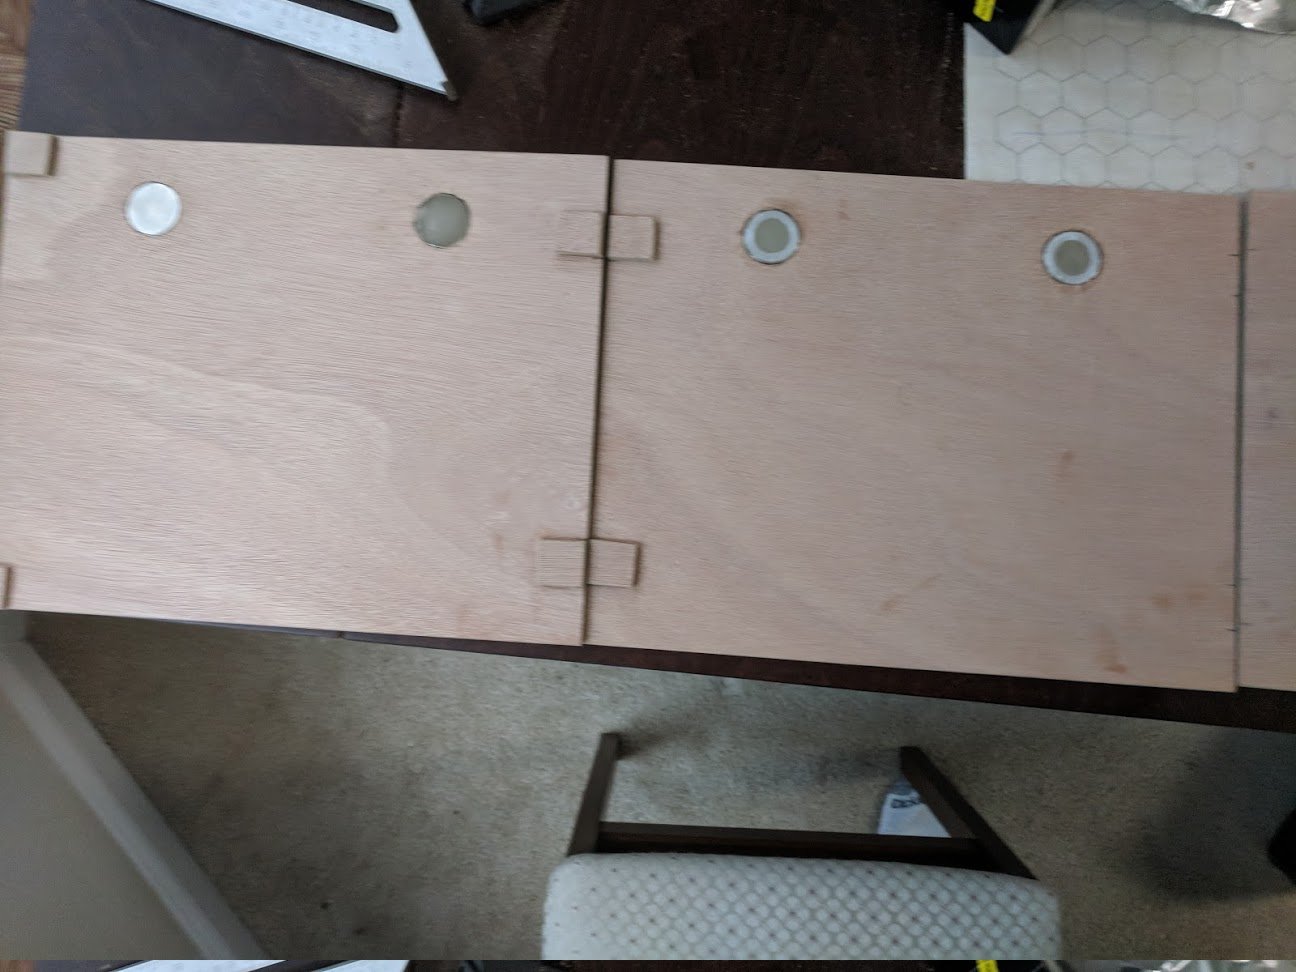
(If you know you don’t want space for fold-down shelves, you could sand down the hinge supports to ½ their thickness and omit the corner supports; the left panel would then lay flat on the right panel when closed).
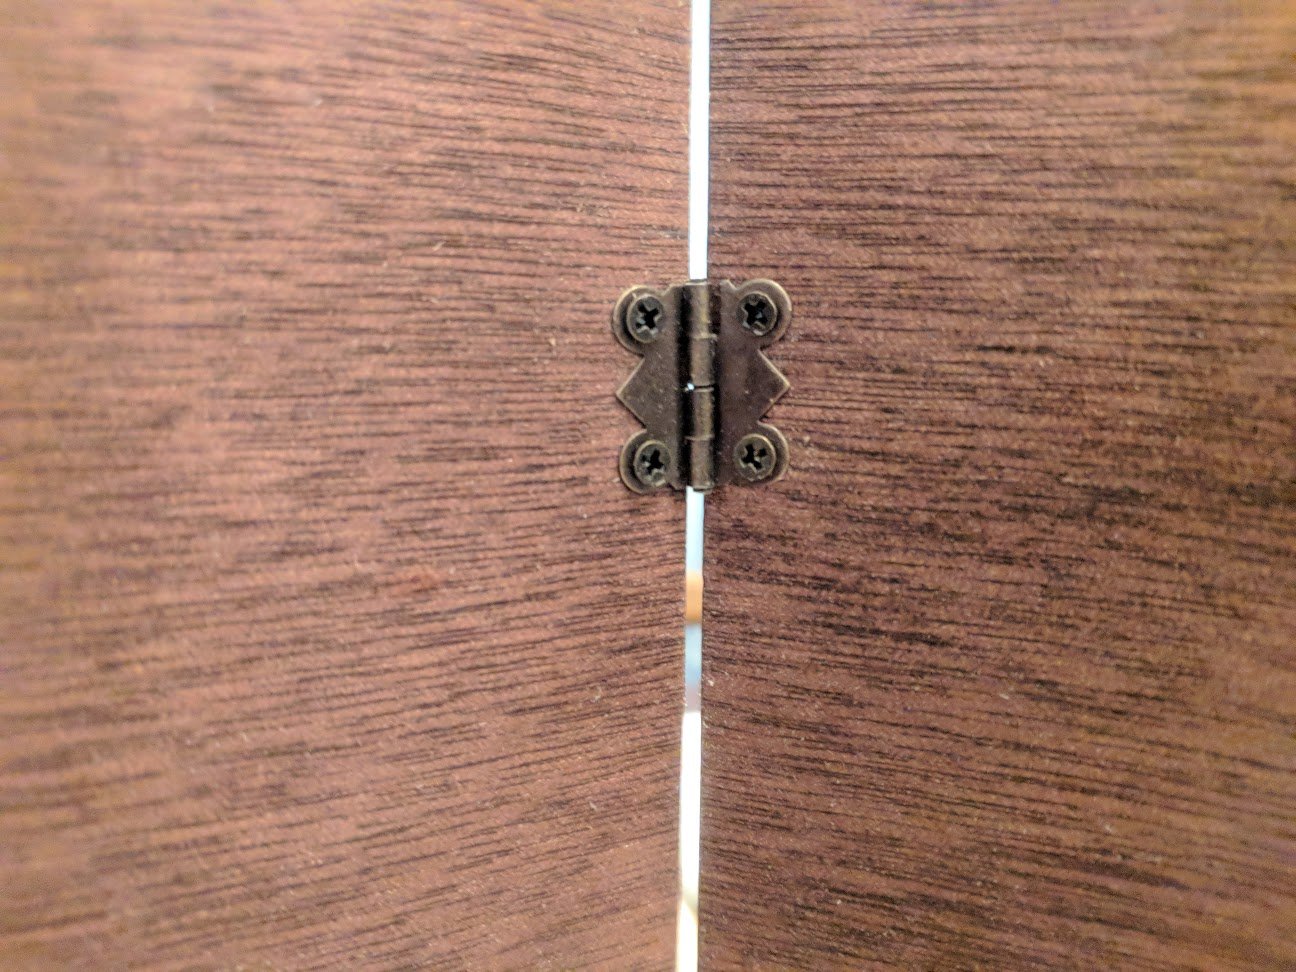
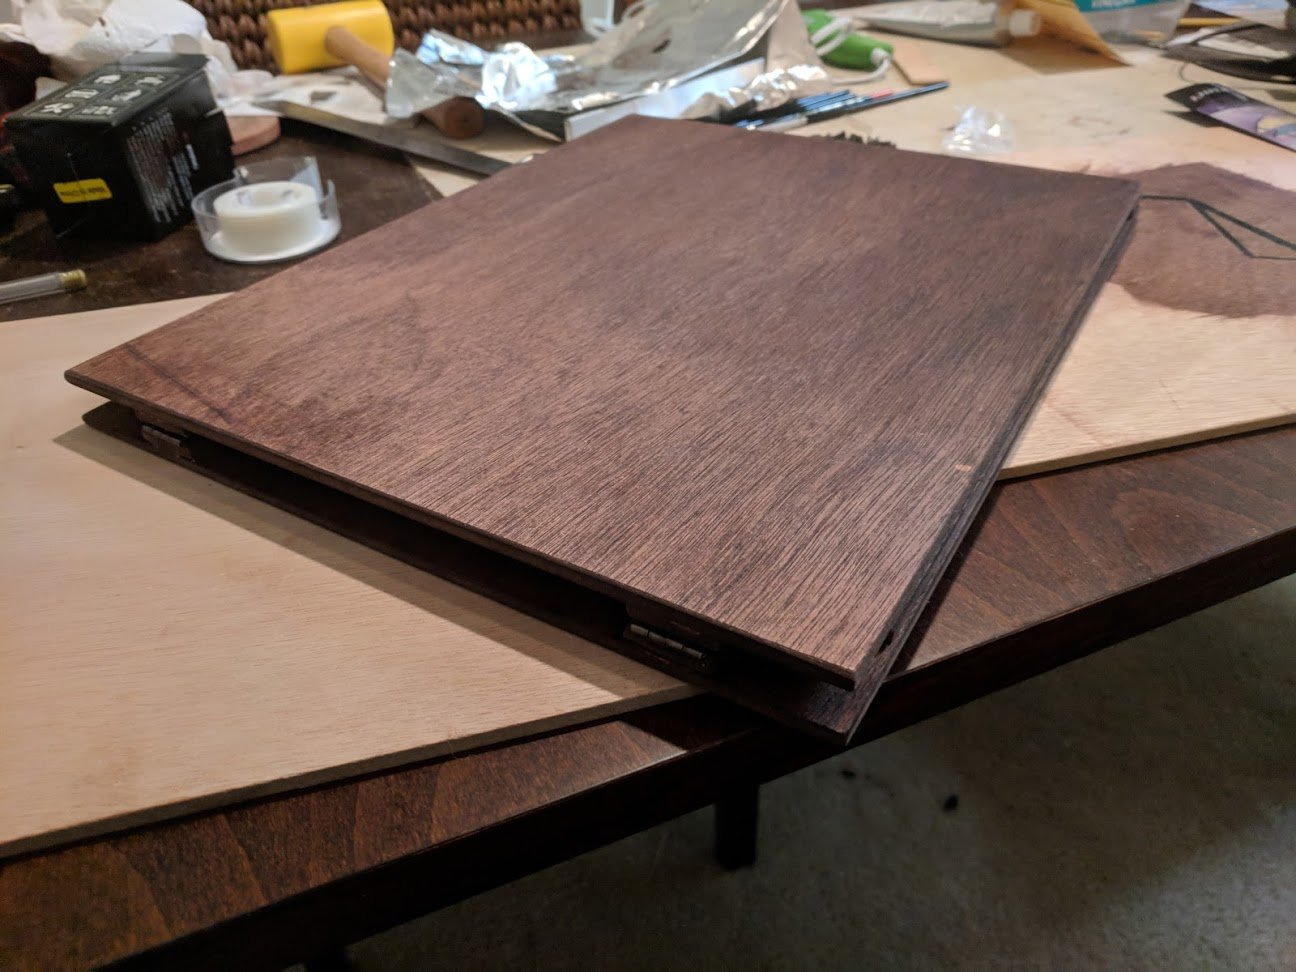
With that done, all that's left was to stain it and screw on the hinges:
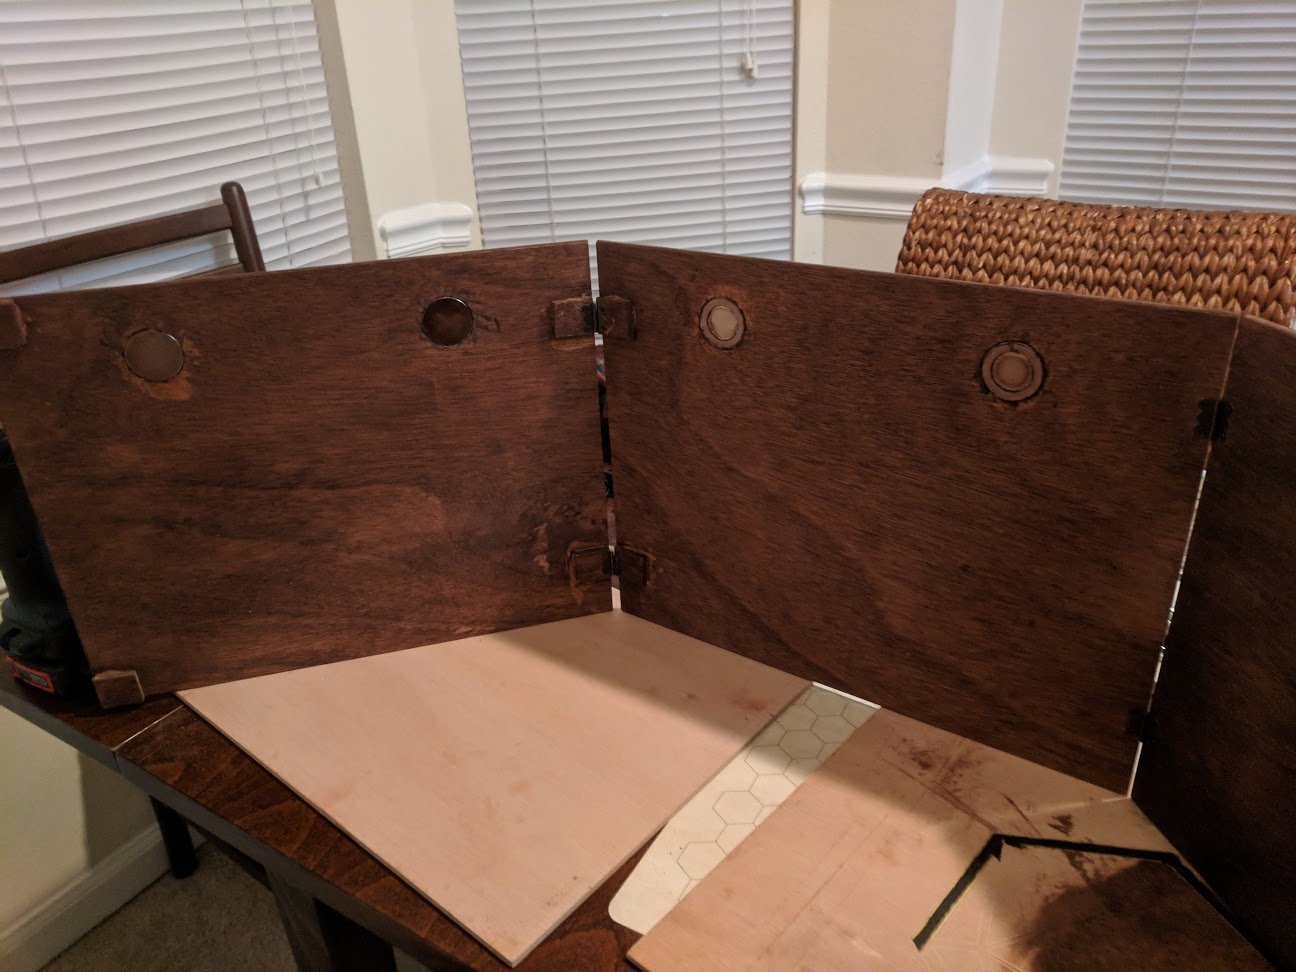
The rear is a little rough, I'm leaving it as-is in case I decide to add a dice shelf and other accessories; in the meantime it’ll be hidden by reference sheets anyway:
The outside looks much more polished; you'll note the dots on the left of the center panel where the hinge screws protruded. They're less noticeable without the camera flash (I ground down the points flush using the rotary tool):
And it folds flat and square for transportation:
I may use a couple of scraps of leather I have left over to cover the gaps (the right-hand gap is minimal, but because of the spacers the left-hand gap is about ¼" wide); attaching them with some hammered brass brads would add a nice flair to the thing, possibly in combination with some decorative metal book corners on the outer corners.